I picked up some pairs of jeans back in the summer at a yard sale for $1 each. Plus recently I was at the Goodwill and happened upon another 3 pairs of jeans in my size and got them for roughly $2.50 each. Of the yard sale jeans, I hemmed 2 of them almost right away so I could wear them while the third pair languished in my pile. I finally got around to hemming the last pair this weekend. 5" off the length - 4.5" cut leaving 1/2" for the hem. Of course they came out about a half inch shorter than I would have liked. Even though I cuffed them while wearing them to confirm where they'd hit. Figures.
Of the Goodwill jeans, two pairs didn't need hemming! Miracle of miracles. One of those did need a small patch on one of the legs. The denim was wearing through. Since I didn't want to draw more attention to the spot, I patched it on the inside using hem tape to seal down a patch over the whole area. Feels a little weird when I first put them on, but I don't notice it while I'm wearing them. Victory! The one pair that did need to be hemmed still needs hemming unfortunately. Haven't gotten around to it yet. Probably have to cut off the excess since they need around 3" taken off. Will measure twice to avoid the same fate as the yard sale jeans.
Hemming jeans is my least favorite alteration. My sewing machine isn't powerful enough to sew through denim at all, let along multiple layers. That means I have to do the top stitching by hand. So tedious. I could just use hem tape, but I like the look of the top stitching around the bottom. It camouflages that I had to hem them in the first place. I was only willing to go through that effort since I picked the jeans up for cheap secondhand. If I was willing to pay new jean prices - they better fit me without my having to alter them. This way I'm reusing jeans, which is environmentally friendly, and saving my money, which is frugal. Win-win
Tuesday, February 19, 2013
Free dresses!
Hey there, sorry for the long hiatus from posting. Life intrudes when you least expect it - and then it won't leave you be. Between moving and illness I wasn't able to get much done, but I did get in some alterations and such small projects.
I was lucky enough to be the recipient of some free dresses from a friend of mine. They didn't fit her anymore. They fit me, but I am significantly shorter than she is. So hemming was definitely going to have to happen (story of my life).
 This sundress was the easiest to hem. It was only roughly 1.5" too long so I was able to fold up the existing hem the extra margin. I machine sewed the new hem and catch-stitched the rest of the hem up so it wouldn't fall down and look weird. The bottom line of top stitching is the new hem. The middle line of stitching is the original hem that is now hidden. Then along the top is the catch stitching to keep the excess up out of the way.

The second sundress I haven't attempted to hem yet. It's current length is roughly 6" too long for me and will require cutting to get it knee-length on me. I'm hesitant to cut into it because I'm concerned about cutting the new bottom edge evenly. Not sure how I'm going to do it. Here's the original length and what it will look like after hemming - I pinned it up a little haphazardly to get a feel for the new length.


The third sundress I managed to not take any pictures of. I will remedy that once it's dry (washed after hemming). It's a halter top style, blue flower fabric. The length was similar to the plaid dress. I only had to take it up 2" so I used the same strategy of simply folding it up, topstitching the new hem, and catch-stitching the excess.
The fourth and last dress I was given is very different. It's a shirt dress in an eye-catching light teal and brown colour combo. It has a self fabric belt that disappears into the dress. Besides that it also needs hemming, but not too much I think. I'm going back and forth on whether I like it since the fabric isn't a pattern I would have bought for myself for a dress. Plus I've never owned a shirt dress before. I think I'm going to keep my eye out for a wide dark brown belt to pair with it. I think that would ground the pattern a bit more.

So out of those 4 dresses, 2 are hemmed so far. Two to go.
I was lucky enough to be the recipient of some free dresses from a friend of mine. They didn't fit her anymore. They fit me, but I am significantly shorter than she is. So hemming was definitely going to have to happen (story of my life).


The second sundress I haven't attempted to hem yet. It's current length is roughly 6" too long for me and will require cutting to get it knee-length on me. I'm hesitant to cut into it because I'm concerned about cutting the new bottom edge evenly. Not sure how I'm going to do it. Here's the original length and what it will look like after hemming - I pinned it up a little haphazardly to get a feel for the new length.


The third sundress I managed to not take any pictures of. I will remedy that once it's dry (washed after hemming). It's a halter top style, blue flower fabric. The length was similar to the plaid dress. I only had to take it up 2" so I used the same strategy of simply folding it up, topstitching the new hem, and catch-stitching the excess.
The fourth and last dress I was given is very different. It's a shirt dress in an eye-catching light teal and brown colour combo. It has a self fabric belt that disappears into the dress. Besides that it also needs hemming, but not too much I think. I'm going back and forth on whether I like it since the fabric isn't a pattern I would have bought for myself for a dress. Plus I've never owned a shirt dress before. I think I'm going to keep my eye out for a wide dark brown belt to pair with it. I think that would ground the pattern a bit more.

So out of those 4 dresses, 2 are hemmed so far. Two to go.
Monday, August 13, 2012
Repairs using what you have
Also known as macguyvering around these parts, I grew up with the idea that if something broke you tried to fix it. And if you didn't have the appropriate part, well, you finagled it with what you had before you gave up and threw the item out.
Things have been busy around the CrazynCrafty household these past weeks. So much stuff to do between work, side business, and personal obligations has left me no time to do any crafting for myself. I did manage to fix a few things here and there that needed it because not having the items in question was really cramping my style. And since macguyvering requires a certain mix of creativity, perserverance, and a stubborn will to not throw something out unless you absolutely have to - it seems like a kind of crafting all its own.
First up was an umbrella I picked up at Goodwill for $1.99 a little over a month ago. A good deal already to start with, one of the arms snapped. Not entirely sure how it happened, but my umbrella was out of commission. Ignoring the fact that I'd gotten it for cheap and could certainly afford another one, the first question was how could I fix it? The solution involved a bamboo skewer, some strapping tape, and upholstery thread. Strapping tape is one of the strongest tapes known to mankind I think, ranking right up there with duct tape. I used it to tape the skwer along the arm, covering the break, so the arm was straight again and braced by the skewer and strengthened by the tape. The upholstery thread connected the small metal brace piece to the arm so the arm would be held up when the umbrella was opened. For a couple of things I had laying around I retained the use of a very useful item given the recent rain we've been having.

Second up was a clothing drying rack. It is a cheap wood (maybe?) one I got somewhere. Not even sure where now, but it didn't cost me much. Cheap construction meant it was only a matter of time before it fell apart. Not willing to accept that, and not willing to pay $20+ for a new metal one, I set about finding a way to fix it. There were two problems here. First issue was one of the horizontal rods where you actually hang your clothes. They're attached to the side braces by means of an end cap that goes through the brace and screws into the rods. One of these end caps was missing, so the rod kept coming out. A piece of cardboard folded over and wrapped with strapping tape made a neat new endcap and a spare screw from something pulled it together:
 The second issue was the horizontal rod that the top piece hooks into to keep the rack standing. Hard to describe unless you have a clothing drying rack, but the rack folds flat for storage. The side braces accordion flat or stretch out to form the rack and the top swings over to hook onto one of the rods to hold the whole thing up. This rod is attached differently (read: worse) than the others. The rod has a plastic sleeve on each end that slides over a plastic peg in the side braces. That's it. So when the plastic collar breaks, there is nothing connecting the rod to the side braces, and the rack can't stand up because the top piece has nothing to hook onto. Brilliant. So I took some strapping tape, awesome stuff, and wrapped it as tightly as I could around the plastic collar to hold it closed again and strengthen it. Won't hold forever, but it'll limp along for a while yet. I used a decent sized piece of tape so I got a couple layers of tape on there. Below is a picture of the repair up close and the rack itself in case my description was terrible (it probably was) so you can see the flat top and where it hooks on the right side.


So yeah, saved myself $20 on the rack and maybe $6 on the umbrella, assuming a sale and I'm purchasing replacements new out of necessity. Not bad for maybe 20 minutes of work total and some stuff I had around the apartment anyway.
Things have been busy around the CrazynCrafty household these past weeks. So much stuff to do between work, side business, and personal obligations has left me no time to do any crafting for myself. I did manage to fix a few things here and there that needed it because not having the items in question was really cramping my style. And since macguyvering requires a certain mix of creativity, perserverance, and a stubborn will to not throw something out unless you absolutely have to - it seems like a kind of crafting all its own.
First up was an umbrella I picked up at Goodwill for $1.99 a little over a month ago. A good deal already to start with, one of the arms snapped. Not entirely sure how it happened, but my umbrella was out of commission. Ignoring the fact that I'd gotten it for cheap and could certainly afford another one, the first question was how could I fix it? The solution involved a bamboo skewer, some strapping tape, and upholstery thread. Strapping tape is one of the strongest tapes known to mankind I think, ranking right up there with duct tape. I used it to tape the skwer along the arm, covering the break, so the arm was straight again and braced by the skewer and strengthened by the tape. The upholstery thread connected the small metal brace piece to the arm so the arm would be held up when the umbrella was opened. For a couple of things I had laying around I retained the use of a very useful item given the recent rain we've been having.

Second up was a clothing drying rack. It is a cheap wood (maybe?) one I got somewhere. Not even sure where now, but it didn't cost me much. Cheap construction meant it was only a matter of time before it fell apart. Not willing to accept that, and not willing to pay $20+ for a new metal one, I set about finding a way to fix it. There were two problems here. First issue was one of the horizontal rods where you actually hang your clothes. They're attached to the side braces by means of an end cap that goes through the brace and screws into the rods. One of these end caps was missing, so the rod kept coming out. A piece of cardboard folded over and wrapped with strapping tape made a neat new endcap and a spare screw from something pulled it together:


So yeah, saved myself $20 on the rack and maybe $6 on the umbrella, assuming a sale and I'm purchasing replacements new out of necessity. Not bad for maybe 20 minutes of work total and some stuff I had around the apartment anyway.
Thursday, August 2, 2012
Making martial arts pants - trial, error, and alterations
So I started a martial arts class and I needed a new pair of pants as mentioned here because I only had a pair of black knit and the white pants that go with my full gi from college. A gi is that uniform you often see martial artists wearing - wrap jacket over pants, often white though they come in many colors.
Fabric was a 55% cotton/45% polyester blend navy blue tablecloth I had picked up somewhere and kept in my stash. The fabric has a subtle tonal stripey thing going from the weave so I made sure that was vertical since I liked that look better. I used McCall's M5813 as a starting point. The sleep pants seemed like a good base because it is designed to be loose rather than closer to the body like many pants patterns. For martial arts you don't want the pants to constrict your movements. Actually I lucked out on this pattern. View A is a cropped version of the pants, and as such doesn't have a yoke piece at the waist. However, because I am so short the cropped pant is the perfect length of full pants for me. One of those times that being so petite works in my favor. Save time and fabric.
Or at least saving time was the plan. Probably would have gone quickly if I could have managed to stop messing it up. Seriously, this pattern has two pattern pieces and four pieces to assemble. How hard could this possibly be you ask?
Mistake one - Managed to sew one leg with right sides of the fabric together (correctly) and one with the wrong sides of the fabric together (incorrectly) and didn't discover it until I was trying to get the notches to line up for the next step. So that line of stitching had to be seamripped.
Mistake two - Fixed the leg and then moved on to sewing the front to the back on each side. Except I manage to sew the front to the front and the back to the back. Somehow didn't click that it didn't look right until I was trying to figure how much to adjust the waistband foldover since I was using 1" elastic instead of 3/4" elastic. That was two lines of stitching that had to be seamripped.
Then of course came the alterations. I tried it on before putting in the waistband and the legs were enormously wide. Total clown pants. Trial and error got me the proper amount to take in from each side so my hips still fit and could move comfortably through kicks and such. I used my existing gi pants as an example for how wide I wanted the ankle opening to be. Then just tapered between the hip measurement and the ankle measurement. Somehow summing it up makes it sound easier, but trust me, it was a lot of pinning and trying on, moving pins, and trying on again. Then measuring and pinning. Only once I was satisfied did I sew the new side seam and cut away the excess. I made sure to note how much I took in so I could add the notes to the pattern envelope and hopefully down the road make new pattern pieces for this purpose.
From there on the construction went smoother until it was time to feed the elastic. Got to within 6-8" of done and suddenly had a horrible time getting the safety pin to pull through. Took forever as the safety pin kept opening and threatening to get stuck inside the channel. I wanted to scream I swear. Cooler head prevailed and finally got it in and adjusted. Only thing left was hemming the ankles and that went quickly. I used my pinking shears to trim the seam allowance a little to prevent fraying and tossed the pants in the wash to get all the fuzzies off.
Did I mention pinking the edges to prevent fraying? Yeah that didn't work. I lost at least 1/4" off all the exposed seams from fraying. I'm going to have to use hem tape and cover all the exposed seams. I am way to lazy to deconstruct the garment to do anything with the seam allowance. Luckily the fraying wasn't so bad that it threatened the integrity of the seams. I had totally spaced and didn't zigzag the seams so I was a bit worried.
Wore them last thursday to class and they worked out fine. No seams failed and I had full range of movement during class. Unfortunately my sewing machine was doing something wrong and the thread on the underside while sewing (outside when sewing outer seams) was loopy. Difficult for anyone to see navy thread on navy fabric so I don't think anyone noticed but me. Gotta figure out the problem there because I want to try this again with some red cotton sailcloth curtains I also had picked up somewhere. Red pants will certainly stand out in class.
Unfortunately I was so frustrated with my time consuming mistakes that I didn't stop to take pictures of the alteration process. I have to go back and cover the seams though so I'll take pictures of the finished project. I'll try to remember to take more pictures when making the red pair.
Tuesday, July 31, 2012
Epic Continuing Work in Progress . . Seedling Pictures
As promised - seedling pictures:
pumpkin

beets

snow peas

pumpkin


snow peas

Epic Continuing Work in Progress . . Condensed Updates
So the garden has been in place now for abut two weeks. You've seen the progression of clearing the jungle. In some of those pictures you can see beds laid out in a grid pattern with white twine and sticks for stakes. Low cost solution. The grid pattern is because I'm using a technique called square foot gardening which is mostly about efficiently utilizing your space to get as much in as you can. I hardly needed it because the spot turned out to be more than half again as big as I was led to believe.
I planted a ton of stuff, some for me, some for other people because I just had so much space. I got all the plants and seeds free from the community gardening organization so luckily I did not have to purchase anything really beyond the space itself. A hopefully complete listing of what I attempted to grow is:
carrots
radishes
cauliflower
raddicchio
cubanelle peppers
banana pepper
pumpkin
spaghetti squash
butternut squash
snow peas
tomato
cucumber
white cucumber
bush beans
beets
dill
basil
marjoram
*some other herb I can't remember now*
lilac pepper
brussel's sprouts
habanero peppers
purple cabbage
green cabbage
... plus assorted flowers including marigolds, nasturtium, and sweet pea
Some stuff grew, most of the herbs did not. I think one basil seedling came up. Some of the peppers have died, about half the cubanelles, the banana, and the lilac. The habanero peppers seem to be treading water right now. The winter squash and cucumbers seem to be growing, as are the bush beans. Many of the plants were eaten off by woodchucks, but most of them appear to be trying a comeback so I hope they can make up for lost time.
Pictures to follow of some of the plants. In other news some kids started a fire in the woods near the garden that spread down into the field behind the garden and came right up to the fence by my space before they got it put out. I can thisclose to losing a good portion of my plants.


Epic Continuing Work in Progress . . The Beginning
My garden! I may have mentioned the garden previously, but now I have pictures! Finally having my computer back means pictures for the having and posting and seeing! So this post will be picture heavy to get us up to date on the garden that is.
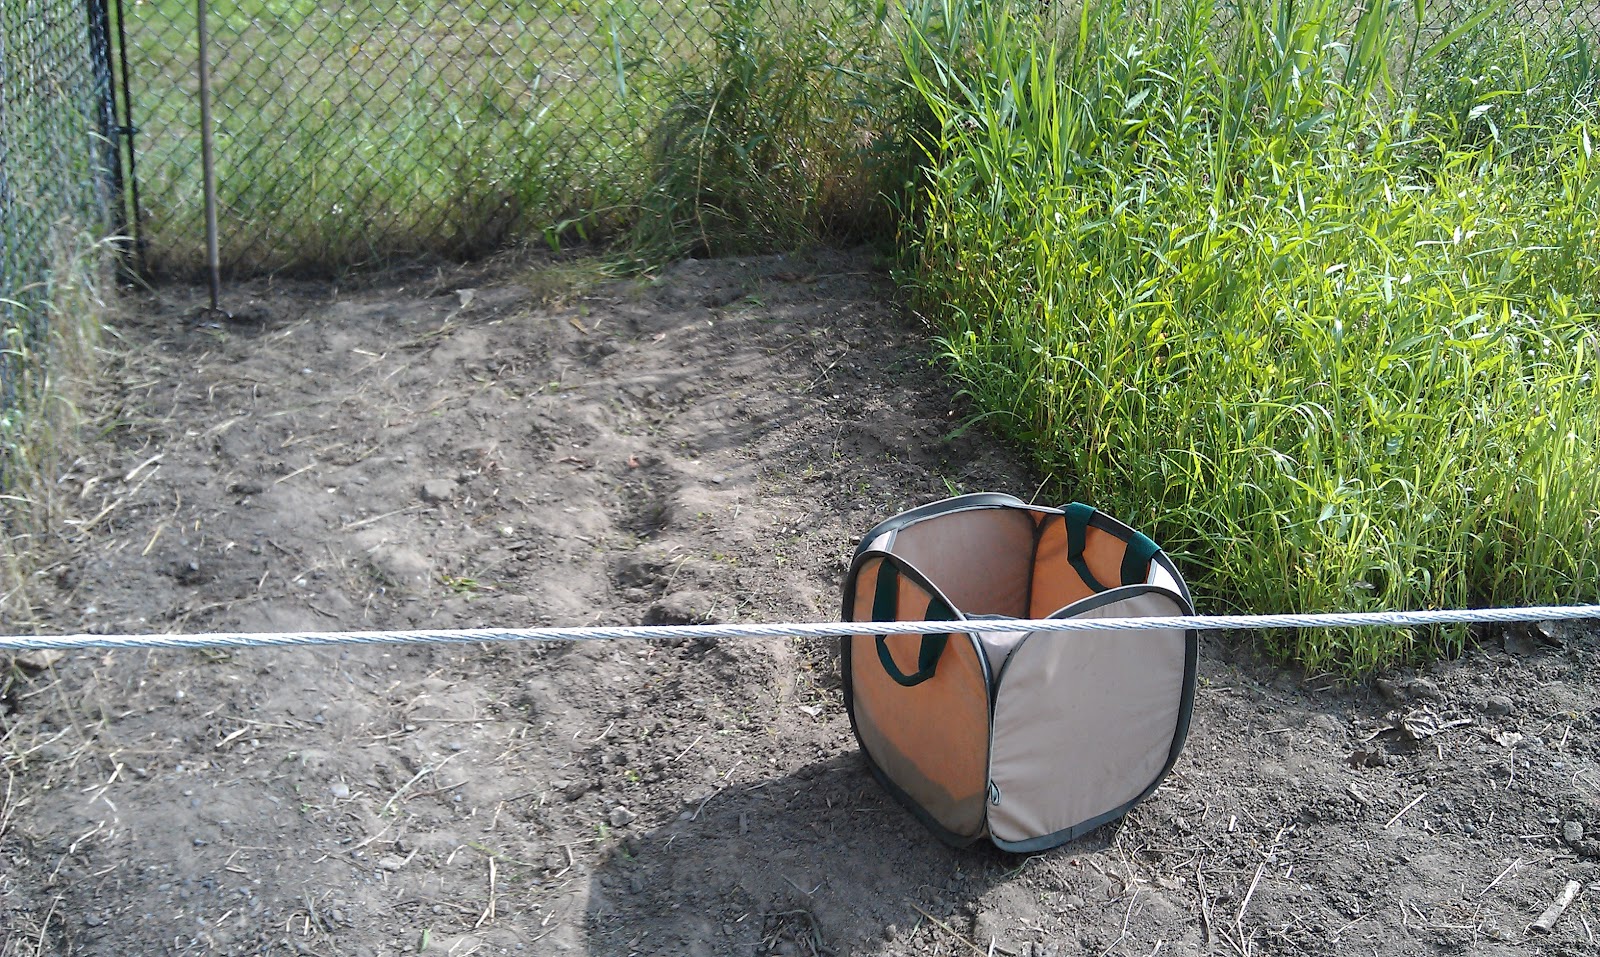
So I got the space from a community garden organization. I didn't sign up until june so I was lucky to get a space. However, it was filled with weeds. Let the cleaning begin. I grew up on a farm so these weeds didn't scare me one bit. (Now those weeds in the fields back home that literally chest high - those were out to get me I swear!) These pictures are in order of clearing so you can see the progression:


So I got the space from a community garden organization. I didn't sign up until june so I was lucky to get a space. However, it was filled with weeds. Let the cleaning begin. I grew up on a farm so these weeds didn't scare me one bit. (Now those weeds in the fields back home that literally chest high - those were out to get me I swear!) These pictures are in order of clearing so you can see the progression:


Subscribe to:
Posts (Atom)